Showing posts with label garden. Show all posts

Saturday, June 8, 2013

My Experiments with Growing Chicken Fodder


In a previous post I told you about building a grazing frame to grow greens inside the chicken run for the chickens to eat.  The frames prevent them from digging up the roots or eating the plants down to the roots so the chickens can 'graze' on the greens throughout the spring and summer months.  Since they will probably not grow well in to the winter months, I have been doing some experimenting with growing fodder so I will be able to keep my chickens in healthy greens throughout the year. 

Two baskets of Fodder in the mini indoor greenhouse.
I have been testing different seeds that I already have around the house to find out which ones sprout the fastest, and with the biggest bang for the chicks buck as far as large, plentiful sprouts go.  First I tested wild rice...not so good.  As you can see here (if you squint your eyes) it takes forever for the rice to sprout and they are very small and tiny.


Wild Rice sprouts after 8 days.

Since I am growing wild bird seed (and pasture grass) in the grazing frame I thought I would test some of the wild bird seed as fodder.  It sprouts pretty fast, here is my test basket after just 2 days.

Wild Bird Seed Sprouts at Day 2

And here it is after 4 days.

Wild Bird Seed Fodder Sprouts Day 4


And here on Day 6.  I went ahead and gave the basket to the chickens.  I went back to check on them in a couple of hours and there was only a few little pieces left in the basket...so I would say they liked it.  I wasn't real impressed with the amount of greens that the wild bird seed produced, but in all fairness I didn't use much seed to begin with.


Another thought as to why the wild bird seed did not do so well for basket fodder is that it grows better in dirt.   I'll keep watching its progress in the grazing frame in the chicken run (where I have planted wild bird seed and pasture grass).  I know that in the past I have been able to grow quite exotic looking plants without trying when if falls from the feeder onto the ground below the bird feeders by the patio.

An interesting note, I seemed to get a lot of gnats inside the greenhouse, mostly in the area of the baskets.  Something about it must have attracted the gnats.  I had the greenhouse outside on the patio because I figured using the A/C indoors would have made it too cool around the greenhouse and inhibited the growth of the sprouts.  Being outside probably contributed to the gnats accumulation as well because I did not have any gnats in the greenhouse when it was indoors used for starting my seedlings for the garden earlier this spring.

Since the greenhouse was outdoors and the temps have been in the upper 90's this week, I think it may have negatively impacted the seed growth.   The high temps required me to rinse them about 3 or 4 times a day to keep the sprouts from getting too dry, where normally I think once or twice a day rinses should be enough.   I will experiment more with growing fodder baskets in the fall when the greenhouse will work more effectively in cooler outdoor temps.

Well, I am off to more experimenting with growing fodder.  I'll keep you posted of my findings.

Keeper of 1 husband, 2 grandkids, 3 dogs,
3 cats, and 17 Chickens!
 
Follow on Bloglovin


Did this post stir something inside of you? If so, Please leave me a comment, I would love to know what you're thinking!!!

Friday, June 7, 2013

Making a Grazing Frame for your Chickens ~Easy DIY Project

Since I don't have grass (or anything green) growing in my yard, not even in the spring or summer, I thought I would try growing some greenery inside the chicken run using a grazing frame.  You may have seen my grazing from in the pictures in an earlier post about Big Red our new flock member.   A grazing frame is basically a wood frame with hardware cloth attached to the top side.  You can either place it over existing grass to allow the chickens to graze that area and enjoy the grass without allowing them to scratch the roots up or devour the patch of greenery altogether.  Or if you are like me and don't have any greens naturally growing, you can plant them and cover the area with a grazing frame to keep the chickens from digging up the seeds while they grow.  The sprouts will grow up and out through the hardware cloth so the chickens can enjoy the parts that stick up out of the frame, but the plant and roots remain safely under the hardware cloth.

I stole some 2x4's that the hubby is using to build a storage shed...he wont miss three little boards will he?  I left two of the board the full 8' lengths.  I cut one 8' board into four 2' lengths.  Then I attached them like this.


I then stapled hardware cloth to the top side.  Then I trimmed off the excess hardware cloth.


I could have used redwood or cedar instead of pine, but I figured if the wood rotted over the next few years and I had to rebuild it, it was still cheaper then spending twice or three times as much on redwood or cedar...besides, the hubby already had this big stack of pine he bought for the storage shed.

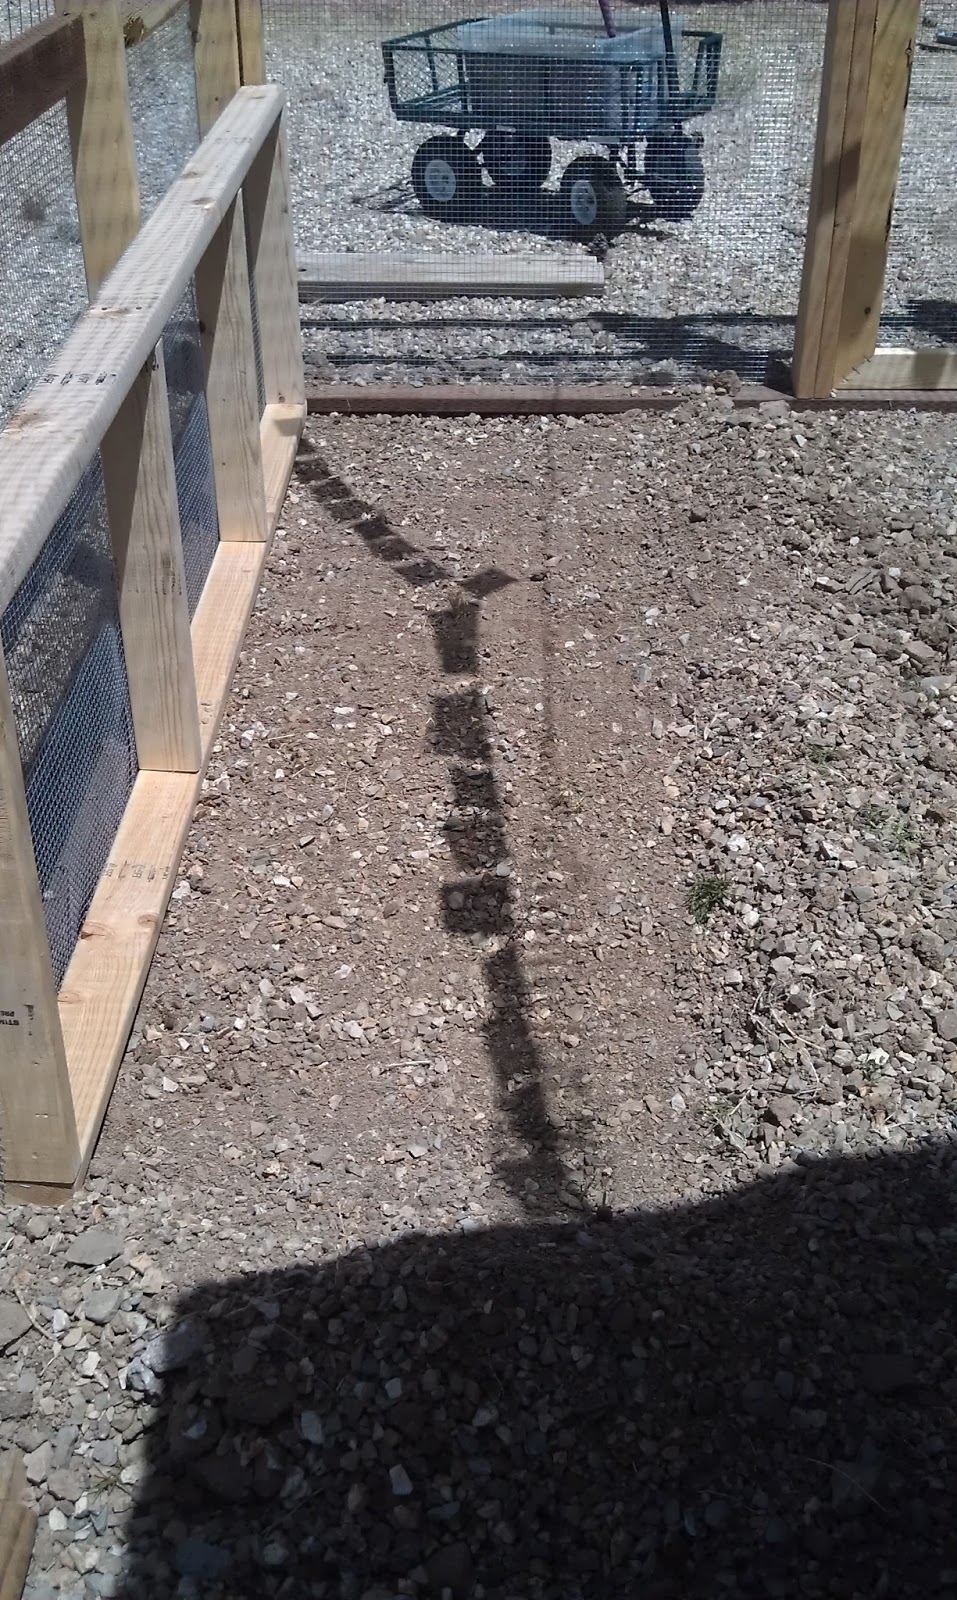
I cleared an out-of-the way area inside the chicken run, big enough for the grazing frame.


I laid the grazing frame over that area and pushed the gravel up against the sides of the frame to help keep it in place.  As mentioned earlier, you can plant your seed in the soil then put the frame on top of that, but I was feeling lazy so I put the frame down first.


Then I shoveled my super-soil and manure mixture on top of the hardware cloth so the dirt fell through but the chunks were caught by the tight weave of the cloth.  I tried to make sure the soil inside was some what level but I didn't put a whole lot of effort into it because Perfectionism is something I have outgrown.

 
Then I sprinkled a mixture of equal parts pasture grass seed and wild bird seed (about 1 cup of each) on top of the soil.  Then I added another light layer of soil by hand to gently cover the seeds but not bury them to deeply.  Then I sprinkled water over the entire grazing frame.


A little later Barry and Goldie (my two most curious chicks) did the final inspection.  It met their approval so my work here was done.  Now I just need to water it once or twice a day, depending on the temperatures. 


After 3 days of watering I didn't see any sprouts yet...but on day 4 look what I found!

Day 4 -Spouts appear!

And here are the sprouts on Day 5.  There are several patches throughout the frame like this.  By next week they should be poking up out of the wire for the chickens to nibble on.

Day 5


This grazing frame will allow me to grow fresh greens inside the chicken run for the chickens to eat, while preventing the chickens from being able to dig up the roots or eat the plants down to the roots, so my chickens can 'graze' on their greens throughout the spring and summer months.  I wasn't sure how much seed to apply at first, but now I can see that I needed more.   So I plan to re-seed periodically until this grazing frame is densely filled with green treats for the chicks.

Since this will probably not grow well in to the winter months, I have been experimenting with growing fodder in my mini greenhouse.  I will be sharing what I learn from my experimentation in another post coming up very soon!


Keeper of 1 husband, 2 grandkids, 3 dogs,
3 cats, and 17 Chickens!
 
Follow on Bloglovin


Did this post stir something inside of you? If so, Please leave me a comment, I would love to know what you're thinking!!!
 
This post was also shared in the Creative HomeAcre Hop #19

Sunday, June 2, 2013

Planting in the Raised Bed Garden

The weather finally warmed up enough to start planting in my raised bed garden I built last month (see how I built it here).  I went to one of my favorite nurseries and picked up half a truckload of 'Super-Soil", organic compost and manure.  They were very nice in helping me figure out how much of everything and in what portions I would need based on the dimensions of my raised bed.  We literally filled half of the back of our 8' pick-up bed with soil & materials.  Then it was my job to shovel all of this into the garden bed...however it was 50 feet away and over a fence so I could not simply back the truck up to it.  So I had to get creative...

I pulled a bunch of plastic storage tubs out of my garage (I use these for so many things!).  Then I placed two of them side-by-side on my Farm & Ranch Steel Utility Cart that I had just recently purchased.  It is rated to hold 400lbs and this heavy dirt was a true test of its ability (and it performed wonderfully).  After the 2 tubs were full I pulled the cart over to my fenced in dog run where I built my raised bed garden frame. I repeated this for 16 tubs worth!!!  I filled the garden frame with layers of super soil, then compost, then manure and mixed each layer a bit before beginning the next set of layers.  Once it was full I let it sit a few days to warm up in the sun.


On the weekend I was ready to start planting my seedlings that I started in my mini hothouse indoors.  I planted some Okra, Watermelon, Cucumber, and two kinds of Squash.  I watered them by hand with a light sprinkle the first day, then set up my automatic sprinkler the next day.  The reason I built the raised bed inside the dog run is because I figured the fence and dogs would keep deer, javelina, and rabbits from eating my veggies. To keep my dogs and cats from getting up in the bed, to see what I had been working on, I wrapped some chicken wire around the tops of the blocks, about 12-18 inches above the blocks.


The next morning I went out to look at my new little garden and discovered that one of the cats or dogs had climbed up on the wire and ate the tops off of most of my plants!?!  I wrapped another round of chicken wire around the top of the first row of wire to make the fencing 3 feet above the top of the blocks and they still got in!  I was getting so mad at them now.  Thank goodness I still had some seeds left so I was able to replant the veggies, but this was going to have to stop or I would not have a garden at all this year.

With some investigative work by my husband and I, we discovered that the cats were most likely the culprits.   Prior to planting the seedlings in the garden I had allowed the cats to come and go from the kennel area through a small opening at the bottom of the gate.  But when I started planting I didn't want any critters coming in that opening so I closed it off.  When I did this, the cats could no longer get out to roam (they wouldn't jump the 4' chainlink fence) so they were stuck inside the fenced area and apparently got bored...so they explored my garden and ate my plants.  So I weighed the risks and re-opened the gap in the gate for the cats.  No more visitors in my garden since.

Now that the cat issue was resolved my garden has begun to grow again.  I had to add some mulch to the garden because the wind (it is always windy here) was drying out my dirt.   Now the plants have no one eating them and they are staying wet longer between waterings, so they are happily thriving.  I have added a few more seeds directly in the garden which are coming up nicely.  You can see that I have different stages of the same plants like my squash because the cats ate half of them so I had to replant.  Here are my plants so far.

New Zucchini seedlings I planted to replace the ones eaten. Older Zucchini that survived the cats are also in picture.

Brand new cucumber seedlings restarted.

New Roma Tomato seedlings (needing thininng).

New Watermelon (second planting)

Bell Peppers that were not eaten by the cats.

 
See the tiny baby 'Okra bloom' already?

Have your started your garden yet?  What are you growing?

Keeper of 1 husband, 2 grandkids, 3 dogs,
3 cats, and 17 Chickens!
 
Follow on Bloglovin


Did this post stir something inside of you? If so, Please leave me a comment, I would love to know what you're thinking!!!

Friday, April 26, 2013

My Raised Bed Garden ~Constructing the Bed with Blocks!


I am building a raised bed garden this year.  I have built them before and had great success with growing a ton of veggies in them.  This year I thought I would try a block-walled raised bed.  In the past I have made them out of wood that eventually rots and falls apart so I thought this would be a little more permanent.   Hubby drove some rebar down in the holes to keep the walls in place and lined up together...as if these heavy blocks were going to move!  I built it double height because I have arthritis in my knee and hip so bending all the way down to the 8 inch height is just too hard on me.  The walls are 6" deep and 16" tall so I can even sit to tend my garden when needed.


The area I am placing my raised bed in is not perfectly level and I didn't feel like digging it out any more so I just built it on a slight slant.  I don't think that is going to be a problem because it is not a severe slope. 


I lined the bottom with a thick layer of cardboard to prevent any weeds from coming up inside the raised bed.  Then I tossed some gravel on the cardboard to keep it in place for now and to give a little drainage if needed.   Next I will be filling it with a mix of top soil, compost, and manure.  


I've started my seeds indoors to give me a little longer growing period, and because I am so anxious to get started.  I am using peat pods to grow my seedlings.  I have had great success with transplanting them in the past and they are so easy to use.  I used a toothpick to work the soil loose and make tiny holes for my seeds to be planted.  I planted a nice variety of our favorite veggies including a few varieties of tomatoes, squash, cucumbers, peppers, okra, and some watermelon too.  I filled two fill trays with 72 pods in each tray!


I bought this cool indoor mini greenhouse at Home Depot on sale for $25.  I have it sitting near two windows in my kitchen where it is warm but not too hot.   Now I just have to water them when needed and wait for them to sprout.


I saw this cool vertical garden online at the Vegetable Gardener where they have watermelon growing up a wire wall with the melons each hanging from fabric slings to support them so they don't hang down and break the vines.  This also keeps your melons off the wet ground where they can spoil.  And it gives you lots of extra growing space in a raised bed garden.  So I Pinned it (love Pinterest!) and plan to add at least one 'growing wall' in the raised bed for my watermelons and tomatoes to grow vertically.   I will keep you posted of my garden progress and how well the vertical gardening works for me since this is my first time trying it.


Have you started your garden yet?  Have you tried raised beds or vertical growing?  I would love to hear about how it has worked for you.