Showing posts with label Chicken Run. Show all posts

Wednesday, June 12, 2013

Keeping the Chicks Cool in the Hot Arizona Summer

One of the toughest times on chickens in my area is the heat in the summer.  We live in the high desert of Arizona.  Although we're not nearly as hot as they are down in the Phoenix Valley, we still feel the summer heat.  But thankfully we cool way down at night, sometimes as much as 20+ degrees cooler than down in Phoenix.  Its because we are not covered with pavement.  We have exposed earth (and lots of it) to help cool things down when the sun sets.  In Phoenix the hard man-made surfaces (roads, parking lots, and buildings) absorb extreme heat all day then radiate it back at you after dark so sometimes it can still be 95 degrees after the sun goes down!  I feel sorry for those chicken keepers trying to keep their chickens from becoming 'oven baked chicken' with the feathers on!

To help my chickens stay cooler I have done a few things that I hope adds up to enough to keep them more comfortable in the summer.   First we have a mister that runs on a timer that comes on at about 10:00 am and automatically turns off at about 4:30pm.  By this time of day the sun is on the other side of the chicken run and partially blocked by the hills around us, but the sunlight is still out so it will dry up any water left on the ground by the mister.  The chickens don't like the water to spray directly on them so I have to make sure it is not too close to where they eat or drink because I don't want them to avoid eating and drinking all day.  It is actually placed on top of my grazing frame...so it gently mists the greenery growing in the frame.

Green mister attached to the wire fence, misting over the grazing frame with the wind blowing the cool air towards where the chickens hang out under the coop.


The coop itself serves as a source of shade because it sits on approximately 12" high posts and it's 10 feet tall.  So during the early and late part of the day the coops tall stature provides shade in front of or behind the coop.  And at all times after about 8:00am there is shade underneath the coops 6' x 6' floor.  The chickens love to hang out under the coop during the hottest time of the day because the wind blows the cool air from the mister towards them (we live on top of a hill so the wind is almost always blowing). That wind also makes for a nice breeze when sitting in the shade anywhere in the chicken run.

Chicks chillin under the coop.
Since the coop is a large wooden building with a metal roof and no insulation, it can get pretty warm inside during the day.  When the sun sets, it cools down pretty quickly to a comfortable temperature inside around the low 70's.  The chickens don't hang out inside the coop during the day, but Big Red does go inside to lay her egg.  Big Red seemed to be following the 25 hour rotating schedule (chicken ovulation cycle), she was laying early in the morning, but it has moved back 1 hour each day until now she is deciding to lay in the hottest time of the afternoon.  It can get pretty hot in there from noon to 4:00pm so I needed to move that hot air out so she and her egg don't cook while she is laying the egg.  The side windows are approximately 21" square and has about a 1-1/2" boxed in frame, so I bought a 20" square box fan to fit in the upper window on the side opposite of the most shaded side.  I used wire in the corners to attach the corners of the box fan to the hardware cloth in the windows.

Box fan installed in upper window of the coop on the side with the least amount of shade. Blowing out.
The fan is set to blow the air out.  Since this is the side with the least amount of shade I didn't want to pull that warmer air inside the coop.  By making it blow out, it would essentially suck air in from the opposite side which is in the shade most of the day.


As you can see in the picture above, the window on the inlet side is a lower screened in window so the current of air moving will come in from the lower section of one side and blow out on the upper side of the opposite side, thereby moving more of the inside air around.  If I had opened the upper window on this side I might have only moved the air at the upper level in the coop.  Having the fan blow out, rather than in, also prevented the current of air from blowing the litter around (I use the deep litter method).  The normal temperatures inside the coop on a hot day (when outside temps are in the 90's) would be about 110-120 degrees, but with the fan on I can keep it at about 5 degrees warmer than outside, and of course it is shady in there.  Warm, but not unbearable if you need to go lay an egg.

Another way the chickens say cool is to follow the shade.  In the am they stay pretty much under or behind the coop.  As the sun gets pretty high in the sky the house offers about 4 feet of shade for the full depth (20 feet) of the run.  So it stays pretty comfortable up against the side of the house.  That is where I have the water fountain installed.  The chickens tend to dribble a bit of water when they get a drink from the nipples so this makes for a great place to scratch down to the earth and cool themselves.   Once it starts getting about 5-6:00pm the sun is mostly blocked by the house, height of the coop, and hills around us, so everything starts cooling down.

Chillin around the Chicken Fountain.
One other thing I do to help them stay cooler is bring them cool treats just before it starts to get hot.  Watermelon, strawberries, and veggies scraps from the night before are a favorite around here.  I can eat an entire watermelon in a day...I shouldn't, but I can (and do) so the chickens have a never ending supply of cool watermelon to share with me.

Chicks at 6-1/2 weeks old enjoying watermelon.
Cool Summertime Treats.
When it was cool at night I was giving them some scratch before bed so the corn would warm them up for the night, but not anymore...it is just too hot for that now.  But they have been enjoying the results of my fodder experimentation's...cool greens are always a welcomed treat!  

How do you keep your chickens cooler during the hot summer months where you live?  I would love it if you shared your tips and tricks...we could all learn from each other to benefit our chicks.


Keeper of 1 husband, 2 grandkids, 3 dogs,
3 cats, and 17 Chickens!
 
Follow on Bloglovin


Did this post stir something inside of you? If so, Please leave me a comment, I would love to know what you're thinking!!!

This post was shared in the Clever Chicks Blog Hop #39

Friday, June 7, 2013

Making a Grazing Frame for your Chickens ~Easy DIY Project

Since I don't have grass (or anything green) growing in my yard, not even in the spring or summer, I thought I would try growing some greenery inside the chicken run using a grazing frame.  You may have seen my grazing from in the pictures in an earlier post about Big Red our new flock member.   A grazing frame is basically a wood frame with hardware cloth attached to the top side.  You can either place it over existing grass to allow the chickens to graze that area and enjoy the grass without allowing them to scratch the roots up or devour the patch of greenery altogether.  Or if you are like me and don't have any greens naturally growing, you can plant them and cover the area with a grazing frame to keep the chickens from digging up the seeds while they grow.  The sprouts will grow up and out through the hardware cloth so the chickens can enjoy the parts that stick up out of the frame, but the plant and roots remain safely under the hardware cloth.

I stole some 2x4's that the hubby is using to build a storage shed...he wont miss three little boards will he?  I left two of the board the full 8' lengths.  I cut one 8' board into four 2' lengths.  Then I attached them like this.


I then stapled hardware cloth to the top side.  Then I trimmed off the excess hardware cloth.


I could have used redwood or cedar instead of pine, but I figured if the wood rotted over the next few years and I had to rebuild it, it was still cheaper then spending twice or three times as much on redwood or cedar...besides, the hubby already had this big stack of pine he bought for the storage shed.

I cleared an out-of-the way area inside the chicken run, big enough for the grazing frame.


I laid the grazing frame over that area and pushed the gravel up against the sides of the frame to help keep it in place.  As mentioned earlier, you can plant your seed in the soil then put the frame on top of that, but I was feeling lazy so I put the frame down first.


Then I shoveled my super-soil and manure mixture on top of the hardware cloth so the dirt fell through but the chunks were caught by the tight weave of the cloth.  I tried to make sure the soil inside was some what level but I didn't put a whole lot of effort into it because Perfectionism is something I have outgrown.

 
Then I sprinkled a mixture of equal parts pasture grass seed and wild bird seed (about 1 cup of each) on top of the soil.  Then I added another light layer of soil by hand to gently cover the seeds but not bury them to deeply.  Then I sprinkled water over the entire grazing frame.


A little later Barry and Goldie (my two most curious chicks) did the final inspection.  It met their approval so my work here was done.  Now I just need to water it once or twice a day, depending on the temperatures. 


After 3 days of watering I didn't see any sprouts yet...but on day 4 look what I found!

Day 4 -Spouts appear!

And here are the sprouts on Day 5.  There are several patches throughout the frame like this.  By next week they should be poking up out of the wire for the chickens to nibble on.

Day 5


This grazing frame will allow me to grow fresh greens inside the chicken run for the chickens to eat, while preventing the chickens from being able to dig up the roots or eat the plants down to the roots, so my chickens can 'graze' on their greens throughout the spring and summer months.  I wasn't sure how much seed to apply at first, but now I can see that I needed more.   So I plan to re-seed periodically until this grazing frame is densely filled with green treats for the chicks.

Since this will probably not grow well in to the winter months, I have been experimenting with growing fodder in my mini greenhouse.  I will be sharing what I learn from my experimentation in another post coming up very soon!


Keeper of 1 husband, 2 grandkids, 3 dogs,
3 cats, and 17 Chickens!
 
Follow on Bloglovin


Did this post stir something inside of you? If so, Please leave me a comment, I would love to know what you're thinking!!!
 
This post was also shared in the Creative HomeAcre Hop #19

Friday, May 24, 2013

Preparing for our Future Chicks ~Coop, Run, Deep Litter Method

The preparations for chicken keeping can be a bit overwhelming, especially if you live in an area where there are a high number of predators...including my own pets!  But we finally got the chicken run built and the coop installed inside it.  Then I had to cover the run and bury wire along the fence line.  I wanted my run to be like a 'Chicken Fort Knox' yet still be a calm, peaceful place for me to enjoy my time with them...and I think I accomplished that.


The run is approximately 20' x 16' with a 6' fence surrounding it.  The fence has 1/2" hardware cloth along the bottom 3 feet and regular rabbit fence on the upper 3 feet.  I covered the top with wildlife netting that is suppose to even keep out hawks...lets hope so because the day I was installing the net a huge hawk kept flying over our property.  

We live in the country in high desert Arizona so besides our own dogs and any nearby neighbors dogs, we also have three cats that would love to catch a little chick.  Then there is the wildlife...such as the hawk flying over, snakes (one of which I had to forcibly remove from our garage), coyotes, Javelina's, and I am sure there are other predators that I don't even know about yet.  But I think I have the run pretty well protected.  

The coop itself is 6'x6' with all windows covered in 1/2" hardware cloth and plexiglass over that to keep it warm at night, and during winter.  There are 5 nesting boxes.  I currently have to open the pop door each morning and close it up each night but I have ordered an automatic door from Ador that is due to be delivered very soon so I wont have to wake up at the crack of dawn to let the chicks out each day.

We bought the coop from a freind moving to a new home where he couldn't have chickens.  It is a very nice coop with two pop doors, and a human door.  It is painted a barn red with white trim which is nice, but I want to have a coop painted calming colors...so I will be painting it in the near future.  We brought it home in two parts on a flatbed trailer.  Then we used the tractor to lift the parts off and take them around to the back were the chicken run was being constructed.  Here is the coop waiting to be placed in the run.

Two parts of the coop waiting to be installed in the run.

Moving the Coop with the tractor.


And here it is once we installed it in the run and completed the final run walls. (excuse the ladder and other clutter in the run, I was lacing up the wildlife net above.)


The floor of the coop was only wood framing and hardware cloth because he thought that was easier to clean.  I have been reading up on different flooring types for coops and like the deep litter method best as it requires less work cleaning it out so frequently, does not smell, and when you do clean it out every 6 months you can use the litter in your garden or add it to your existing compost pile. 

So I asked my husband to put in a plywood floor and then top that will a piece of vinyl flooring.  That all went down very easy.  And a bonus was that the coop was now much warmer at night.  Something we were concerned about since we live in the high desert and it is at least 20 degrees cooler than Phoenix (where or friend lived) during the day and probably 40 degrees cooler at night.

Linoleum Scrap for flooring (purchased for about $10).


Next came the litter.  I chose wood pellets rather than wood shavings because they are less expensive for one, at only $3 per bag, and you only need 3 bags to make a 4" deep litter once they are broken down.  They are also much finer than wood shavings so they are easier to turn on a regular basis.   Mostly the chickens will do the turning for me if I simply toss some scratch on the floor in the evening when they are going to roost.  


Breaking down the pellets was super easy.  You just pour the bag into a tub or wheel barrel. I have tons of rubbermaid tubs that I use for all kinds of things, so I split the three bags of pellets between 2 tubs.  It only filled them about half full.  Then I turned on the garden hose and sprayed water on them.  I didn't know if I needed to stir them around to help break them up so I did a little experiment.

Comparison of which method needed to break up pellets with the least amount of effort.
 
In tub #1 (on the left) I just sprayed the pellets until they looked very wet on top and I could see wetness through the sides of the tub as well, then I just left them alone.  In tub #2 I sprayed them, waited at few minutes then stirred them around with my hand-shovel, then sprayed the dry ones deeper in the tub, then stirred it around some more.  I had to spray and stir about 4 or 5 times to get everything thoroughly wet and broken up.  Tub #1 that I left alone was soaking up all the water I put on it in the beginning (lots of water by the way) and by the time I finished all the spraying and stirring of tub #2, the first one had puffed up and began to break apart just sitting there.  So as I learned, all the work was totally unnecessary.  Just spray the pellets really well and walk away!  It was a warm day so they dried out quite nicely under the warm sun in a few hours.  When I scooped them out of the buckets and tossed it into the coop the pellets all fell apart exactly the same, regardless of which method I used.  So save yourself the hard work, just spray the pellets really well and walk away! Unless it makes you feel more productive to break a sweat and work your upper arm muscles.

Started filling the coop floor with the wood pellets (broken up and dried). Filled to about 4" deep.
So with that finally done it was time to get my chicks... Please come back soon to read about our new baby girls (at least we hope they are all girls)...

Keeper of 1 husband, 2 grandkids, 3 dogs,
3 cats, and 17 Chickens!
 
Follow on Bloglovin


Did this post stir something inside of you? If so, Please leave me a comment, I would love to know what you're thinking!!!

Tuesday, April 23, 2013

The New Chicken Run ~ Construction Begins!


I am getting so close to having chickens again.  But first we had to get a coop and build a safe chicken run.  We decided to recapture some of the dog run area that our dogs don't fully utilize anyway.   The dog run is currently a 40' x 16' area that is surrounded by a 4 foot tall chain link fence.  Totally not appropriate for chickens living in a rural area.   The new chicken run will be 20' x 16' with a 6 foot wood and wire fence surrounding it and double deer netting over the top.  Am I being overly cautious?  You bet! We recently lost one of our cats to coyotes so I am taking no chances with the chickens.  I told the hubby that we need this to be like a chicken fort knox!

Today we broke ground on the chicken run!  Here is our first post hole.


 Yes that is a jack-hammer that we used to dig the holes.  Our ground is very hard and since the hubby is a building contractor he has heavy-duty tools.  It made the digging really easy...no rock was going to stop this thing.

After the holes were dug our first post went up.


Then our first panel, then a second, and one wall was complete.


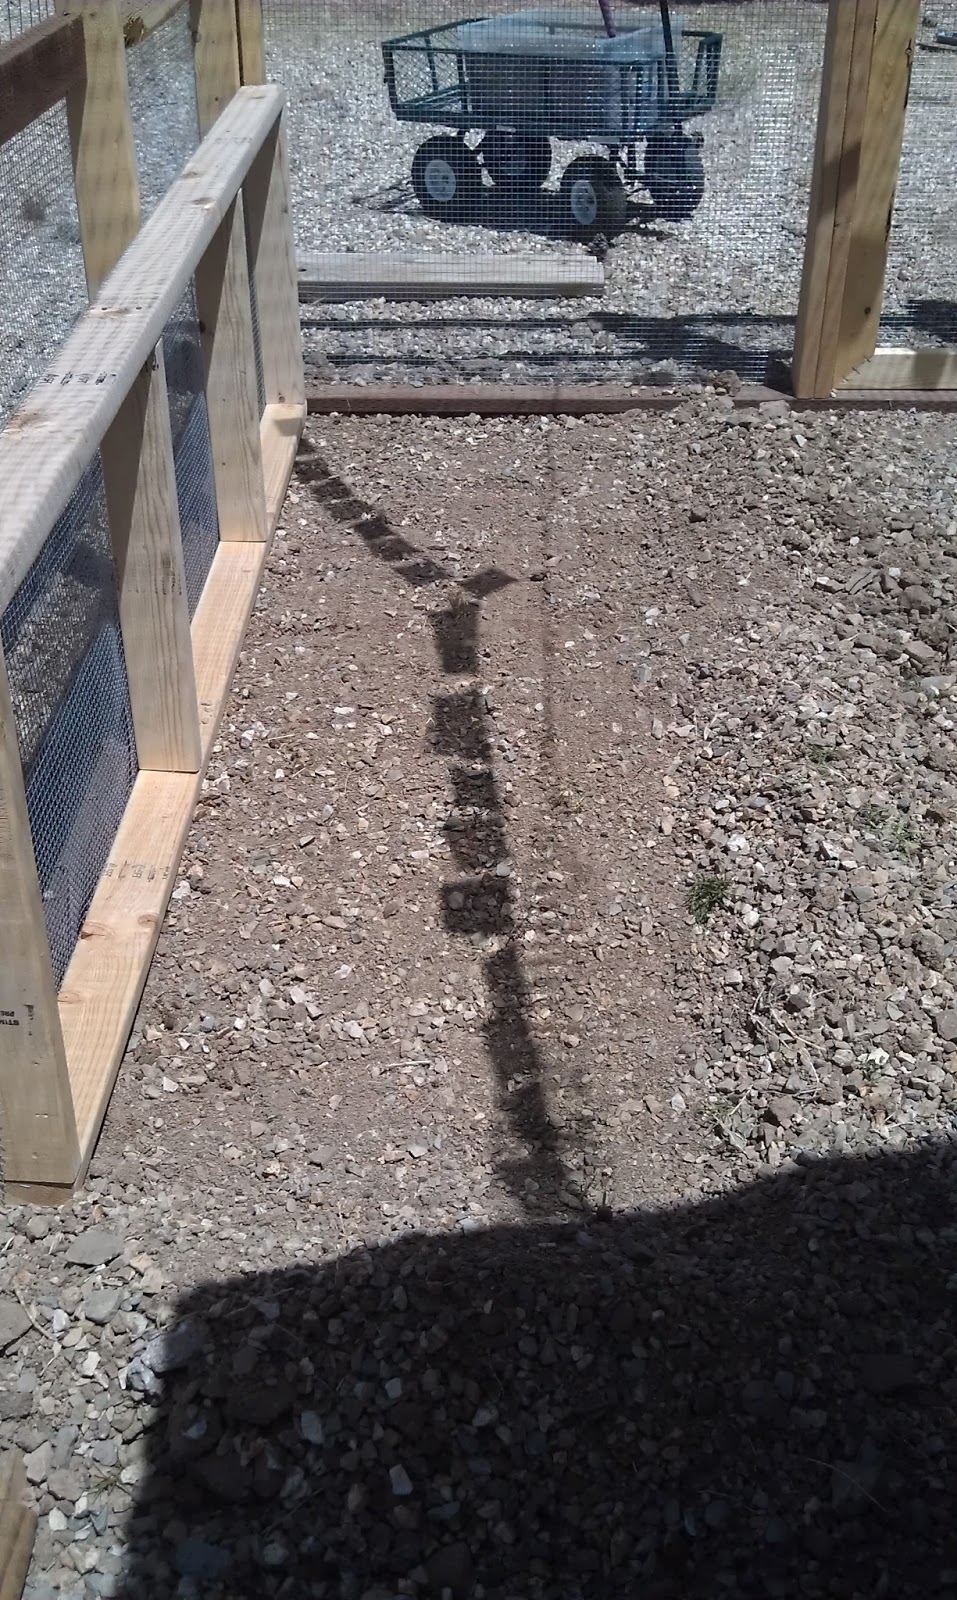
Here is another view showing that we used 1/2" hardware cloth on the lower 3 feet and rabbit wire on the upper 3 feet of the fence/wall.


Tomorrow we will be taking down the chainlink and installing another wall, then placing the coop inside the run before we do the last wall.  Here is the coop, in two parts, just waiting to be placed in the chicken yard.


It is 6' x 6' and about 10 feet tall when the roof is on.  Although the red and white is cute, I want my chicken yard to be tranquil and this red is not working for me.  I have picked up some cute 'Oops paint' from home depot that I will be using to totally transform this barn-style coop into an oasis of tranquility.

Follow along to see our progress over the coming days.  My teenaged chicks will be coming home as soon as the run is complete.  I am so excited!!!