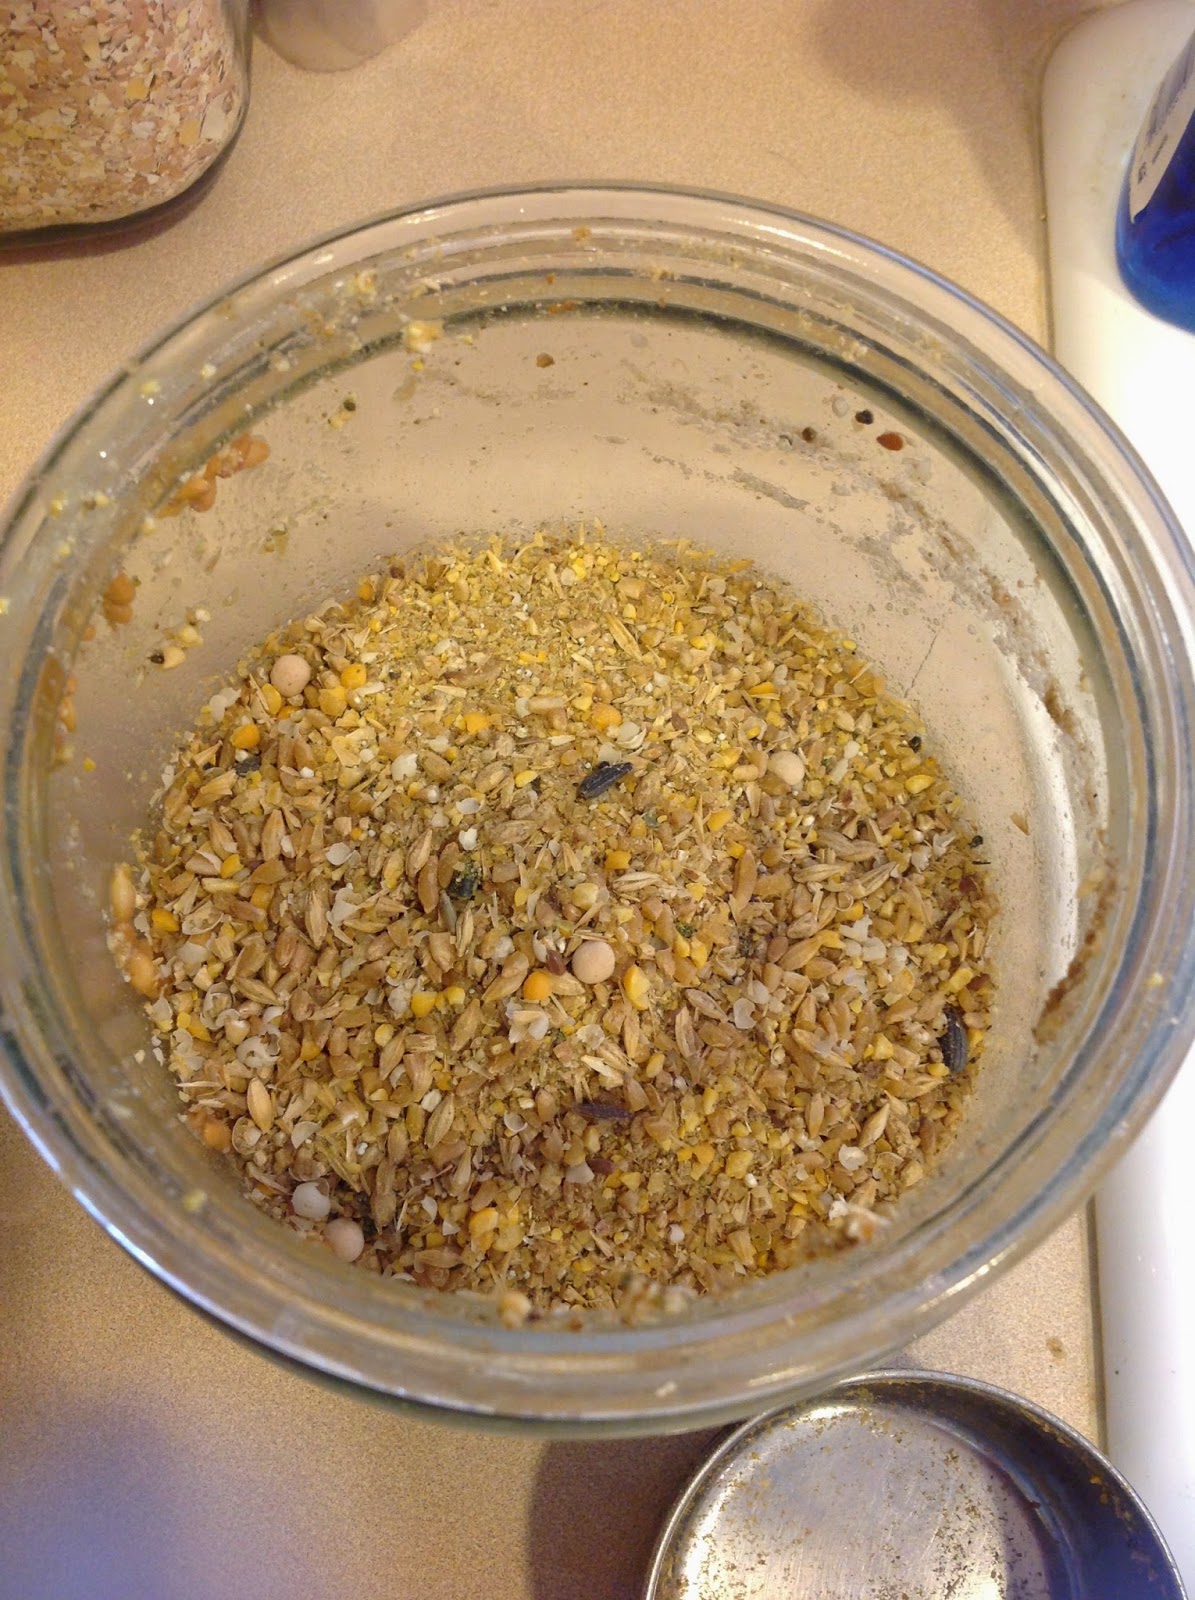
As you've probably guessed by now, I love experimenting with new things. Especially things that benefit our lives or our pets lives. Recently while researching about the best feed to give your chickens I kept seeing the mention of 'fermenting feed'. When I hear the word 'fermenting' I think of fermenting to make alcohol, but I quickly learned there are several kinds of fermentation. The one that I am most interested in was 'Lacto-Fermentation'.
What exactly is 'Lacto-Fermentation'? The best explanation came from the
Natural Chicken Keeping blog, as they explain that "Lacto-Fermentation uses naturally occuring bacteria to partially break down the food, improving its enzyme content and increasing its levels of vitamins B, C, and K. It also makes food more digestible, and boosts the "usable" protein level by about 12%." This means that by fermenting your chickens food you are essentially enhancing their food to make it easier for them to digest and increasing the nutritional value of the food. I've heard from many chicken keepers that the chickens will end up eating
less food in the long run, while getting so much more out of the food.
This sounded like an experiment that I definitely wanted to try. I read the Natural Chicken Keeping blog, as well as many other similar articles about how to properly ferment chicken feed. The methods all vary just a bit, but follow some of the same basic principles, so I kind of combined all of their basics and created my own variation of chicken feed fermentation. Here is what I did to make my own fermented chicken feed.
First I needed a container to ferment my feed in. With this being my first experiment I didn't want to spend any money on supplies until I knew if this would work for me and if my chickens even liked. So I started with a large clear glass mixing bowl. You can use glass, lead free ceramic, or food grade plastic, but do not use metal because the high acid content can interact with metals. I prefer glass, especially clear glass, so I can watch what's going on in the fermentation process.
My chickens currently eat dry crumbles so I started with that. You can use what ever dry feed your chickens eat now. For my test batch I used 2 cups of crumble feed and 1/4 cup of wheat seeds, 1/4 cup of barley, plus a 1/4 cup of scratch.
I mixed these dry ingredients up in the bowl then covered them with about 1' to 1-1/2" of unchlorinated water above the level of the feed. I have a Reverse Osmosis machine that filters chlorine out of my water but if you use regular tap water, you must assume is has some chlorine added by your water municipality. To de-chlorinate your water just fill a pitcher of tap water and let it sit out over night. The chlorine will naturally evaporate. You do not want to use chlorinated water because it will kill the good bacteria that you want to grow in the fermentation process.

Once I added the water to my dry feed, I stirred it gently to make sure that all parts of the dry feed were wet, then I put a lid over the bowl. It does not need to be air tight, I just placed a dinner plate over my bowl and it worked fine. You need to monitor the water level over the first 24 hours because the dry food will swell as it soaks up the water. If the water level gets too low, just add a little more unchlorinated water. You should also gently stir the fermenting feed every 2- 3 hours during the first several days, (don't worry about it at night).
By the 2nd full day I began to see bubbles forming on the top of the water. This is caused by the bacterial giving off carbon dioxide. It also began to smell kind of sour, which reminded of me of the smell of my fresh sourdough bread dough before it goes in the oven. It is not stinky and rotten, just kind of sour. The slightly sour smell and the bubbles are a good sign that things are going well.

Once I reached this stage I wanted to feed some of it to my chickens. I used a screened ladle to scoop out some feed from the bottom of the bowl and let most of the water drain out before placing it in my serving dish. Then I took it out to feed to my chickens for the first time. Now before I tell you about their reaction, let me tell you what they usually act like when I have give them something new. They stand way back from the dish looking at it with total suspicion mixed with disgust. After a moment, if no one is brave enough to approach the dish, I will take a small bit and offer it to one of the chickens. The small amount doesn't seem so scary so they take a bite, then come back for more...then the others will come try it too. It is usually the second (
or even the third) time that I offer them something new before they all eagerly eat it, so I didn't expect anything different this time.
However...as soon as I sat the dish of fermented feed on the ground they all gathered around and began eating it like crazy! I don't know if they smelled it and liked the smell, or it was the colorful variety that was just too appetizing to them or what, but I was thrilled that they liked it so much. They ate every last little morsel of food in the dish within just a few moments. So now I knew they liked it,
and that my next serving needed to be bigger.
I fed it to them again that evening at around 6:30 pm. That's when they
seem to eat the most food and get their craws really full for the night, so I
wanted them to go to bed with fermented feed tonight which would be
easier for them to digest. When I served their evening helping of
fermented food they once again ate it up right away, and they didn't
leave much in the dish this time so now I knew how much was the right
amount to satisfy them.
Since they loved it so much and it was so easy to make, I bought a 2 gallon glass jar with a heavy lid and started a whole new -much bigger- batch. This time I added some barley and a little wild bird seed treat (seeds, millet, fruits, etc) to the mix as well. The sunflower seeds floated to the top (
you don't want any of the food above water) so I scooped them out with a screened ladle. I added the first batch to this second batch, which helped to give the 2nd batch a kick-start. It was bubbling by the next morning. This is an important reason why you don't throw out your old water when you start a new batch. (
unless the first batch went bad, in that case start all over again) What I do is keep a bowl of the dry mix next to the fermenting jar. As I scoop out wet food, I pour in replacement dry food. Remember that the dry food swells when it soaks up the water, so monitor the water level at all times so it is always
at least 1" over the level of the feed.
After feeding fermented food to my chickens for several days I noticed that they seemed perkier. I think this feed must be making them feel better. I bet they are also staying a little better hydrated in this AZ heat because they are getting such a high water content in their food. And I don't know if its my imagination, but after just two weeks of fermented feeding, their feathers look shinny and more full of color.
There are two drawbacks to feeding my chickens fermented feed.
1. When we were evacuated for the fire, I didn't bring the huge fermenation jar with us. So I only had dry crumble feed to give them. When I offered it to them they acted like I gave them chalk to eat. Barry (
my cockerel) showed his distaste by standing in the feed dish and kicking the dry feed out onto the ground. It looked like he was trying to dig down to find the good stuff.
I had to wet their food to get them to willingly eat it.
2. They loved fermented feed so much, and quickly got use to me bringing them a dish in the morning and evening. So by the third day,
just after sunrise (
and each morning since) Big Red gets up on the feed can by my bedroom window and pecks on my window while she squawks loudly. I imagine she was saying, "Uh Mom, are you still sleeping? We are up and ready for breakfast!"
 |
| "Uh Mom, are you still sleeping? We are up and ready for breakfast!" |
I am glad they like it so much, and I really don't mind the early morning wake up call. It is kind of sweet to roll over and see her peeking in my window. So now I keep a big jar of fermenting feed on my counter by my sink. It sits there next to my stacks of sprouting seeds that they love to have for a fresh treat. It may not look to pretty sitting there between my kitchen and living room, but it does make an interesting topic for discussion when company comes.
If you would like to try fermenting feed for your chickens, I recommend that you visit the Natural Chicken Keeping blog and read their 3-part series on the Benefits of Lacto-Fermention (how it benefits your chickens), Fermentation Basics (the science behind fermenting) , and the complete How-To fermenting instructions. After reading about fermenting feed from multiple sources I found theirs to be the best. Be sure to read the comments after each article because they have addressed updated information in the comments as well.
Keeper of 1 husband, 2 grandkids, 3 dogs,
3 cats, and 17 Chickens!

Did this post stir something inside of you? If so, Please leave me a comment, I would love to know what you're thinking!!!